
Creating Family Yearbooks

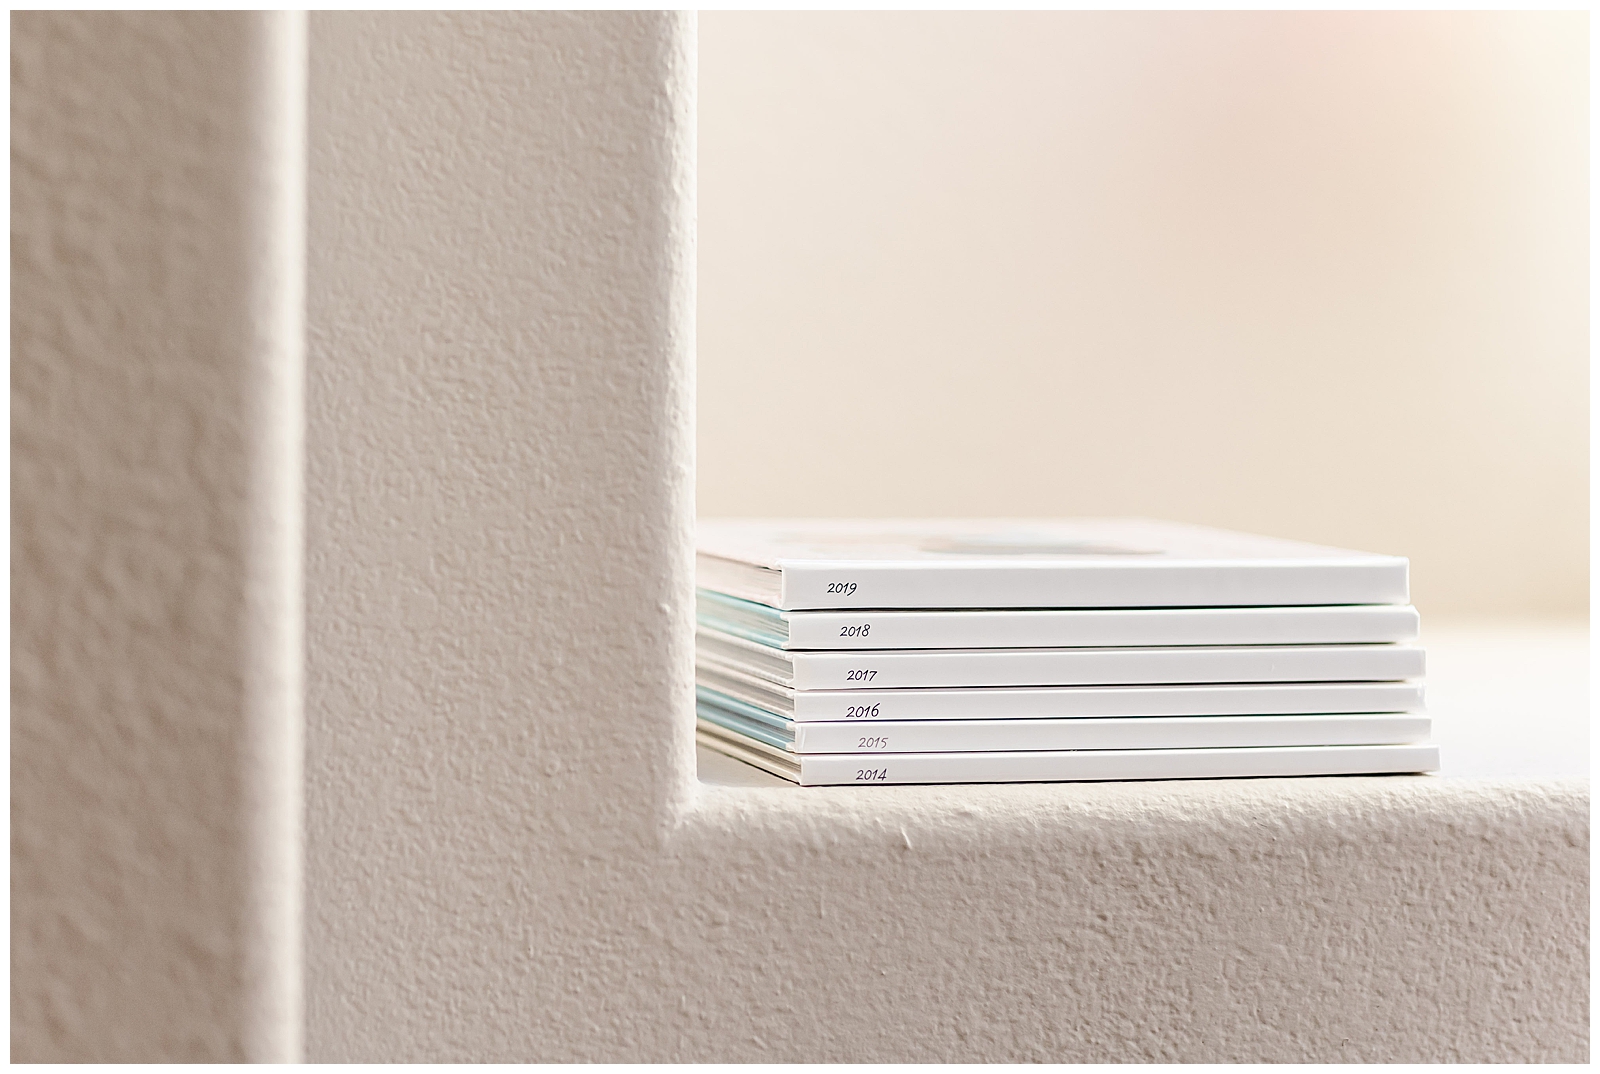
The first month of the new year is the perfect time to talk about one of my favorite things: family yearbooks! I’ve been making yearbooks every year since we got married and absolutely love looking through them. The books from 2014 and 2015 are fairly thin, but then we started having kiddos and they nearly doubled in size! I have all my photos organized for my 2020 book, but haven’t had the chance to make it yet. I mean, 2020 rocked our world, so of course that’s the year I fell behind! I’m mostly organized for 2021 as well, so by the end of this year I’ll be all caught up. (I’ve put it in writing, so now it has to happen!)
My kids love looking through these books and we’ve gotten lots of compliments on them from friends, so I wanted to share my process with you. Now that we all have our pictures on our phones, they tend to live there instead of printed in our homes. I’m totally guilty of this too, which is why I make an effort to at least make a physical book of our photos each year. So, if you’re interested in making your own, look no further. Here’s how I make it happen.
5 Steps to Creating Family Yearbooks
Step 1: Take and Organize Your Photos
Whether you’re using a cell phone or another camera, the first step is to take your photos. After all, it’d be kind of hard to make a photo book if you don’t have any photos to put in it! Once you’ve taken your pictures, you’ll make your life easier at the end of the year if you organize them periodically.
- Organizing Cell Phone Photos: Create albums for each month and then add your favorite pictures to the albums every month or so. If you do this on an iPhone, this will make it super easy to Air Drop in batches to your computer when the time comes.
- Organizing Photos on a Computer: If you save your photos on a computer or cloud, you can first create a folder called Favorites for Family Yearbook. Then, create subfolders for each month so that you’re again saving your photos in batches. This will make it easier when it comes time to make a book.
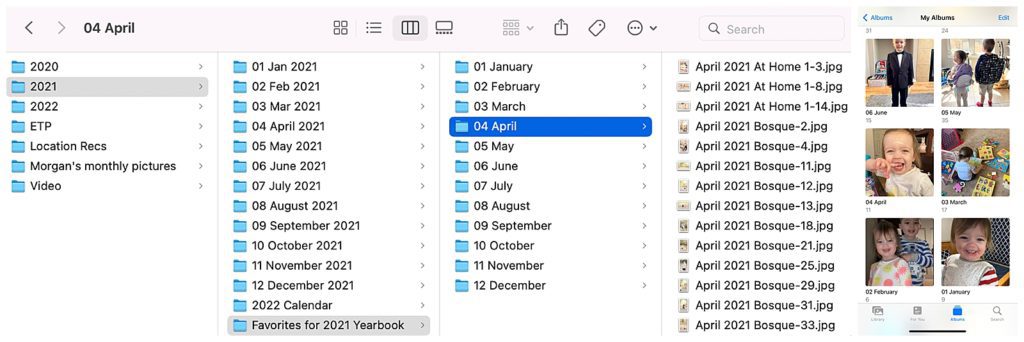
Photo organization on both a laptop and iPhone.
Step 2: Choose a Company and Template
While lots of companies offer books, I make mine at Shutterfly. It’s the only place I’ve ever made them, so I don’t have anything to compare to, but I’ve been happy with them. I love the templates, as well as how customizable the pages are. Plus, they frequently offer “Unlimited Free Pages” discounts, so they’re pretty cheap for how many pages I cram in there! The printed colors aren’t perfect to my trained eye, but if you’re not a professional photographer, you probably won’t notice. All in all, the price and customizability make it worth it.
After you’ve chosen a company, you’ll want to choose a template for your book. This will get you started with fonts, a color scheme, and some page embellishments. If you don’t really care about the details, you can just plug in your photos and call it a day. However, if you’re like me and find the whole process a therapeutic and creative adventure, this will just be your starting point!
Step 3: Import Photos One Month at a Time
The first time I made a family yearbook, I made the mistake of importing all the photos at once. If you hear anything, hear this: don’t do that! It was such a mess. I had over 500 pictures and they weren’t all in chronological order. Plus, I could only view 8-12 of them at a time because I was on a small laptop screen. It was so hard to scroll through all the pictures and decide which ones I really wanted. By organizing ahead of time and then going month by month, this becomes much more manageable.

Example of how few photos you can see at one time.
Step 4: Make the Book
Now the real fun begins! Once you have your first month of photos imported, you can start playing around with different arrangements and drop photos into the templates. Adding stickers, frames, and other embellishments will help spice up the page. I try to include a sentence or two of memories where appropriate to help me remember the details behind the photos too.
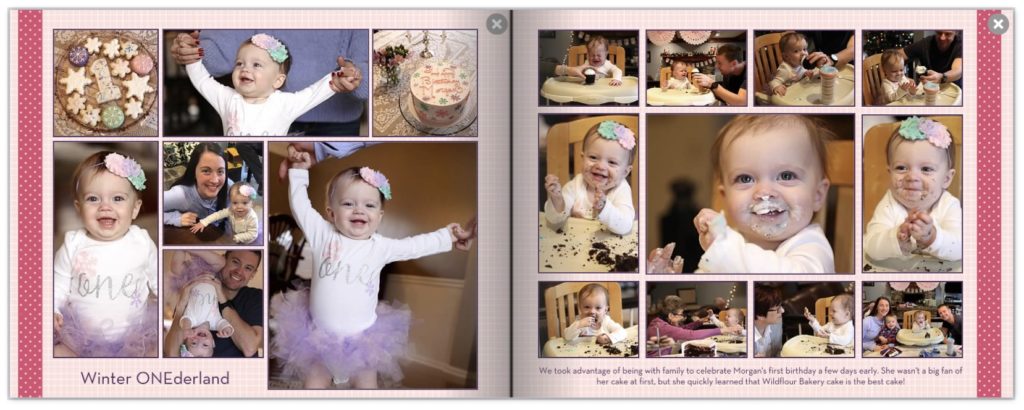
Screenshot of a spread from our 2019 book.
Step 5: Wait for a Sale
You don’t technically have to wait for this step, but since I add so many extra pages to my books, I always wait for an “Unlimited Free Pages” sale. The base price with 20 included pages is around $40 and then it’s an additional $2+ for every extra page. At that rate, I could easily spend $150+ on a book! Since I’m not in any real rush to get it, it’s worth the wait to get the book more than 50% off.
Recap
I hope this was helpful and leaves you feeling ready to tackle this fun project. Even if you decide not to do a book, I’d encourage you to print a couple of your favorite pictures from last year. Your memories are precious and deserve to be displayed!
If you have any questions, please don’t hesitate to reach out to me. You can find me on Instagram at @erinthompsonphotography or email at erin@erinthompsonphoto.com. I’d love to chat with you!
YES PLEASE!
Getting ready for your next PCS? This resource is for you! Download the guide for five actionable ways to set yourself up for success at your next assignment.
5 Ways to PCS-Prep your photography business
Getting ready for a PCS?
Getting ready for a PCS?


free download!
I HAVE A LITTLE SOMETHING FOR YOU!
I've been navigating military life with my family since 2008. In that time, I went from a full-time classroom teacher to an online course designer to a photographer. Actually, I still teach a little math on the side because I just love it too much!
Through it all, I've discovered how passionate I am about connecting with military families. Whether it's taking photos at a retirement ceremony, coaching a fellow milspouse photographer, or just grabbing coffee with a new squadron friend, I love this community. And as a teacher at heart, I'm excited to use this space to share what I've learned about business and life with you.
I'M ERIN.
Hey there!


