
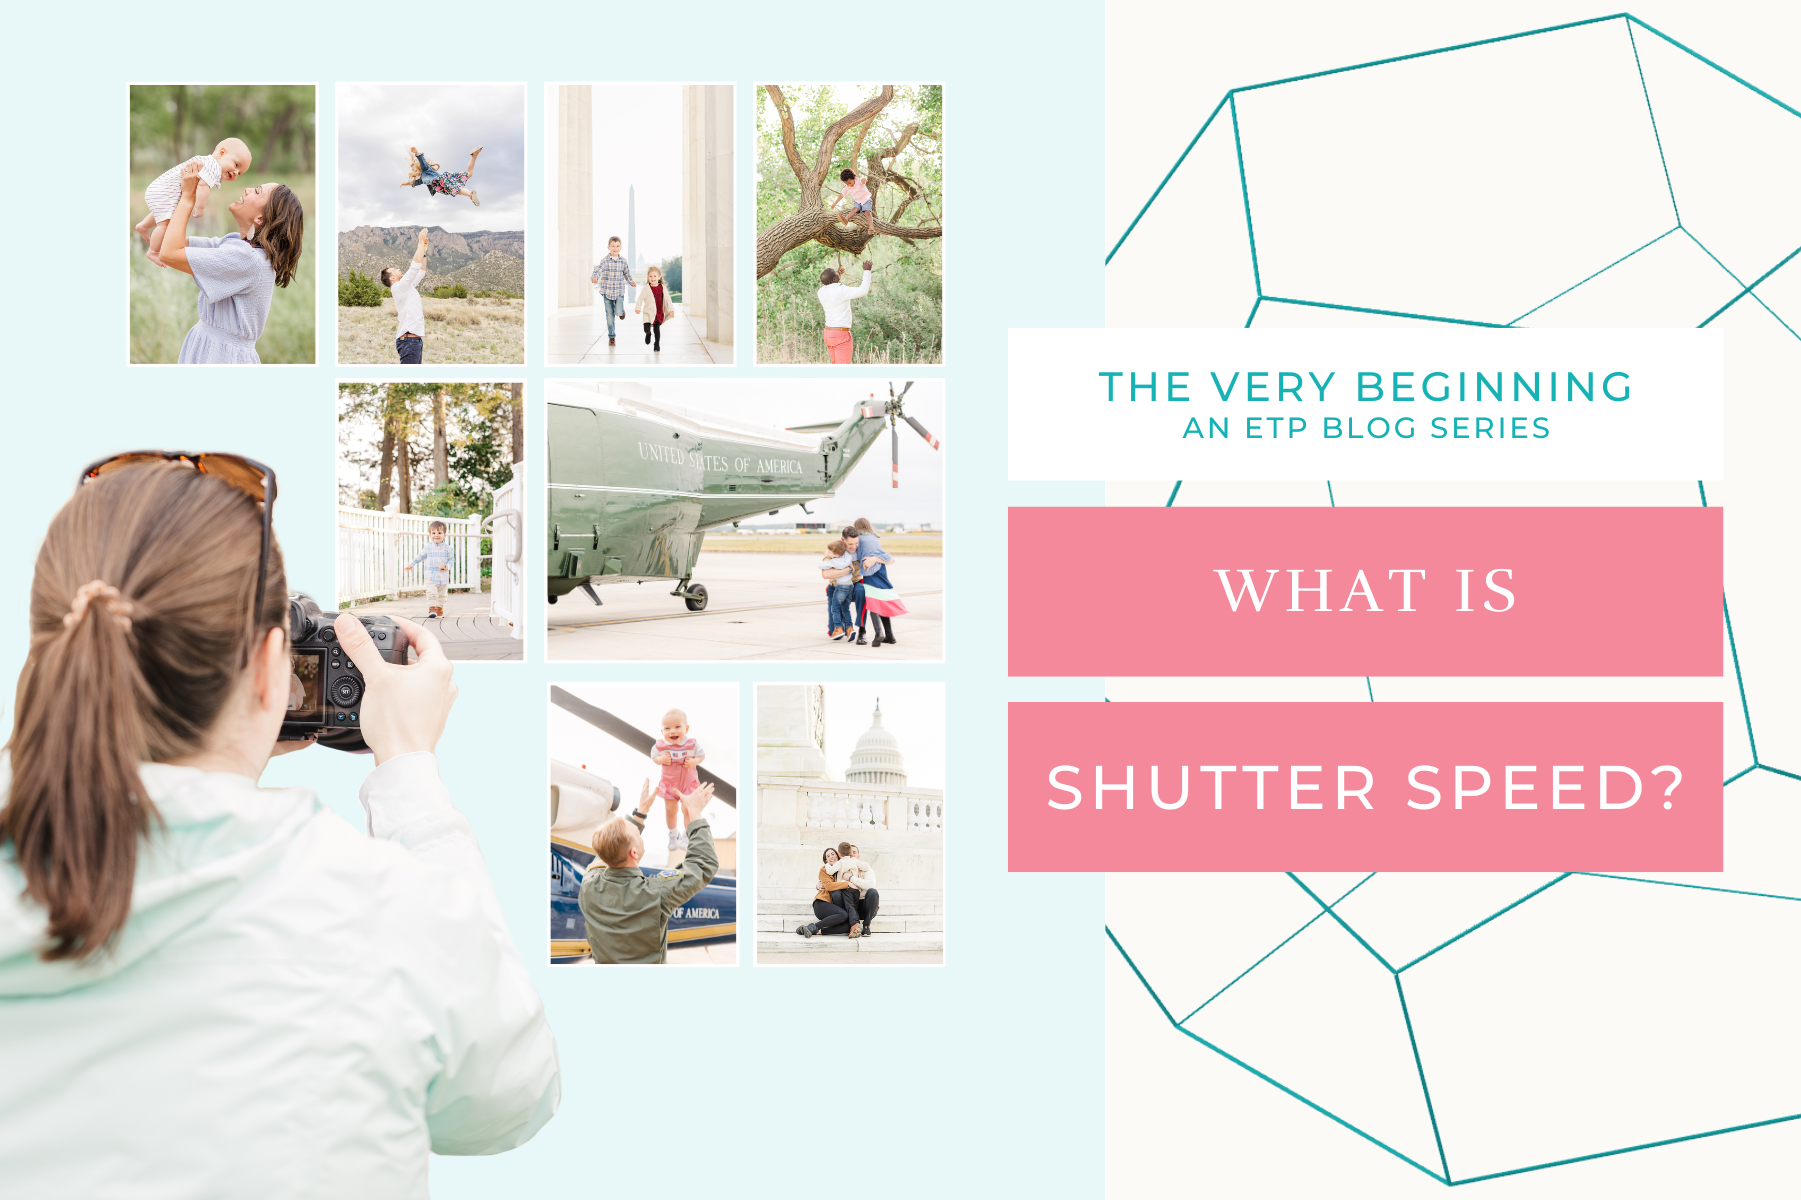
The Very Beginning | What Is Shutter Speed?

Welcome back to The Very Beginning! In the last blog post, we defined aperture, one of the fundamental settings a photographer can control in camera. Now, we’re keeping with the same theme and looking at another important setting: shutter speed.
What is Shutter Speed?
If aperture is like your eye’s pupil, then you can think of shutter speed like your eyelid. It’s the amount of time that the camera’s sensor is exposed to light. In simple terms, it’s the time the camera’s “eye” is open to capture an image. This setting is measured in fractions of a second, such as 1/1000, 1/500, 1/250, and so on, or in whole seconds like 1s, 2s, and 5s.
How to Control Shutter Speed
Shutter speed allows you to freeze fast action or capture motion blur in your photos. Here’s how it works:
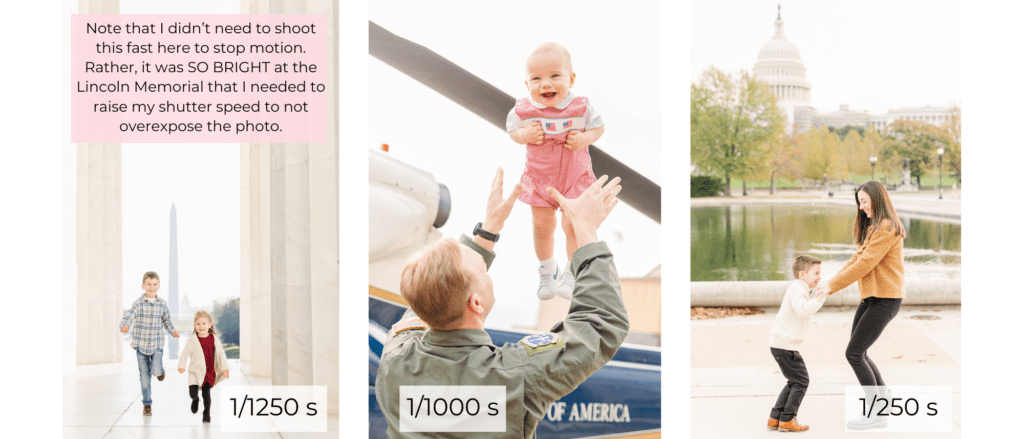
- Fast: A fast shutter speed, anything faster than 1/1000, is used to freeze fast-moving subjects like sports, wildlife, or a child’s energetic play. It captures a split-second moment with sharp details. You know those flying baby shots I love? They require a fast shutter!
- Moderate: A moderate shutter speed, like 1/250 or 1/500, is versatile for capturing everyday scenes. It’s suitable for general photography where you want a balance between freezing motion and allowing enough light in to properly expose your photo.
- Slow: A slow shutter speed, such as 1/30, 1/15, or even longer exposures like 1s or 2s, introduces motion blur. This effect can be creatively used for long-exposure photography, capturing flowing water, light trails, or a sense of movement, such as in night photography or artistic experiments. It’s not something I use almost ever in portrait photography.
Watch Out!
While a slower shutter speed allows more light to enter the camera, there are some risks to going too low:
- Motion Blur: While you might want some motion blur in certain scenarios, I find that in most instances I do not. As a general rule during a family session, I do not drop my shutter speed below 1/250. This is generally slow enough to allow enough light in, but fast enough that wiggly toddlers or jumpy kiddos aren’t blurry in my images.
- Camera Shake: In a situation where you do want a slower shutter speed, you need to be careful of camera shake. If the shutter is open long enough that the camera picks up on you not holding your hands perfectly still, your image will not be in sharp focus. To mitigate this, consider using a tripod or stabilizing your camera on a solid surface.
- Exposure Balance: Remember that this setting is part of the exposure triangle, along with aperture and ISO. Changing the shutter speed affects exposure, so you may need to adjust the other settings to maintain proper exposure. For example, if you have a perfectly exposed photo and you want to prep for that flying baby shot, you can’t just crank your shutter speed. That will result in an underexposed photo. To maintain exposure, you’ll need to either drop your aperture or increase your ISO as well.
Recap
Understanding shutter speed is another key piece to learning to shoot in manual mode. It is the one I find myself adjusting most often to create properly exposed images in camera. As you practice controlling your shutter speed, remember that a faster speed will mitigate motion blur and camera shake, but comes at the cost of allowing less light to reach the camera’s sensor. Your job is to find the balance between the two!
What’s Next?
Up next in The Very Beginning, we’ll explore the third element of the exposure triangle – ISO. Understanding ISO will complete your foundational knowledge of the exposure settings, giving you the tools you need to take full control in manual mode. So, grab your camera, play around with different shutter speeds, and take note of how they influence your images.
As always, if you have questions or need guidance along the way, feel free to drop them in the comments below or send me a DM on Instagram. I remember the challenge of trying to keep all these settings straight and would love to help you along the way!
If you enjoyed this post, you may also love:
YES PLEASE!
Getting ready for your next PCS? This resource is for you! Download the guide for five actionable ways to set yourself up for success at your next assignment.
5 Ways to PCS-Prep your photography business
Getting ready for a PCS?
Getting ready for a PCS?


free download!
I HAVE A LITTLE SOMETHING FOR YOU!
I've been navigating military life with my family since 2008. In that time, I went from a full-time classroom teacher to an online course designer to a photographer. Actually, I still teach a little math on the side because I just love it too much!
Through it all, I've discovered how passionate I am about connecting with military families. Whether it's taking photos at a retirement ceremony, coaching a fellow milspouse photographer, or just grabbing coffee with a new squadron friend, I love this community. And as a teacher at heart, I'm excited to use this space to share what I've learned about business and life with you.
I'M ERIN.
Hey there!


