AI for Photographers | AI Tools in Lightroom
Welcome back to AI for Photographers! If you’re already using Adobe Lightroom to edit your photos, then you’re in the right place. Today, we’re diving into the powerful AI tools in Lightroom. These tools, namely AI Masking, Content Aware Remove, and Denoise, have become part of my post-processing workflow. Let’s take a look at each of these tools individually and see how you can use them to elevate your photography.
AI Masking: Speed Up Isolated Edits
AI Masking is a game-changer for refining specific elements in your photos. Whether you want to bring back the details in a sky, brighten just the background of an image, or adjust intricate details, AI Masking makes precision editing a breeze. The tool intelligently recognizes different elements in your image, allowing you to make targeted adjustments without the need for meticulous manual masking. You can easily select skies, backgrounds, subjects, and even specific parts of people (hair, eyes, teeth, clothes, etc.) with just a couple clicks! Even when it isn’t perfect, it’s a giant leap in the right direction.
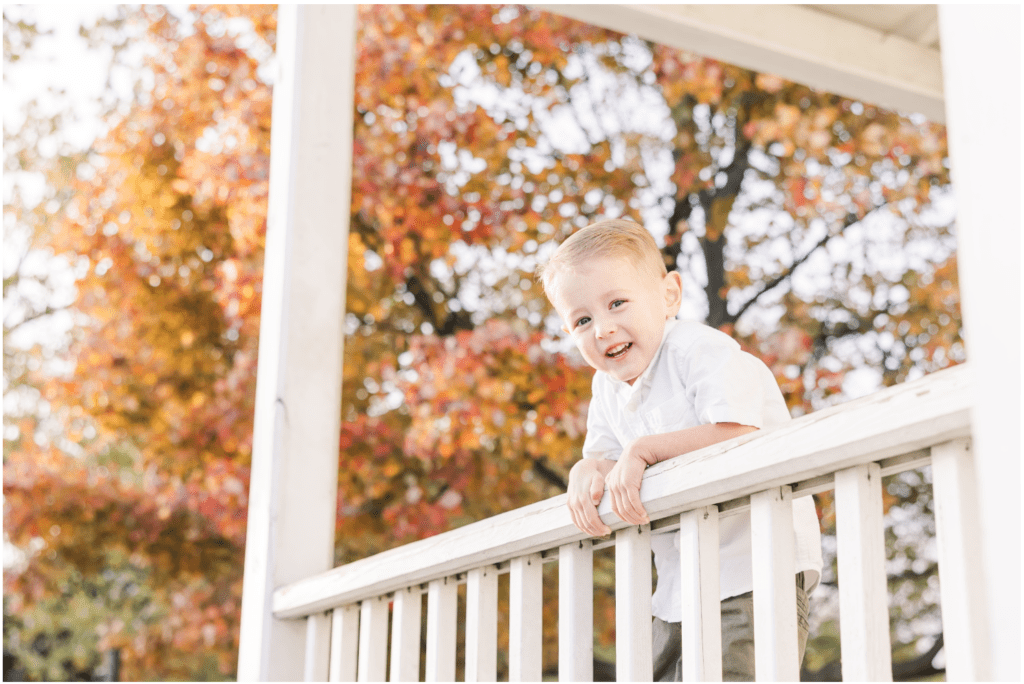
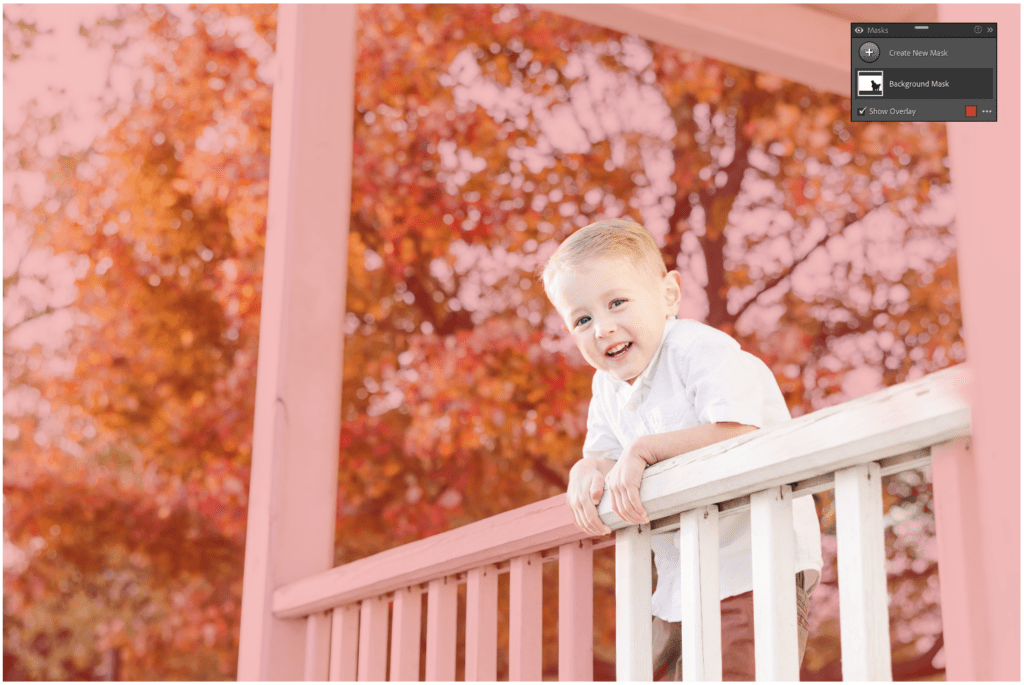
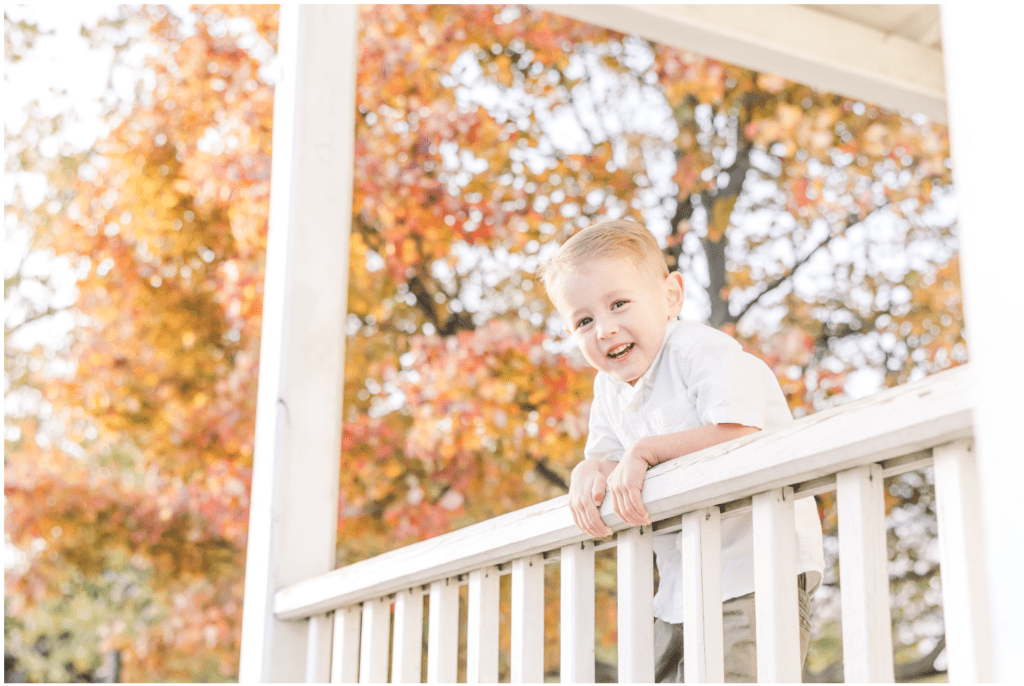
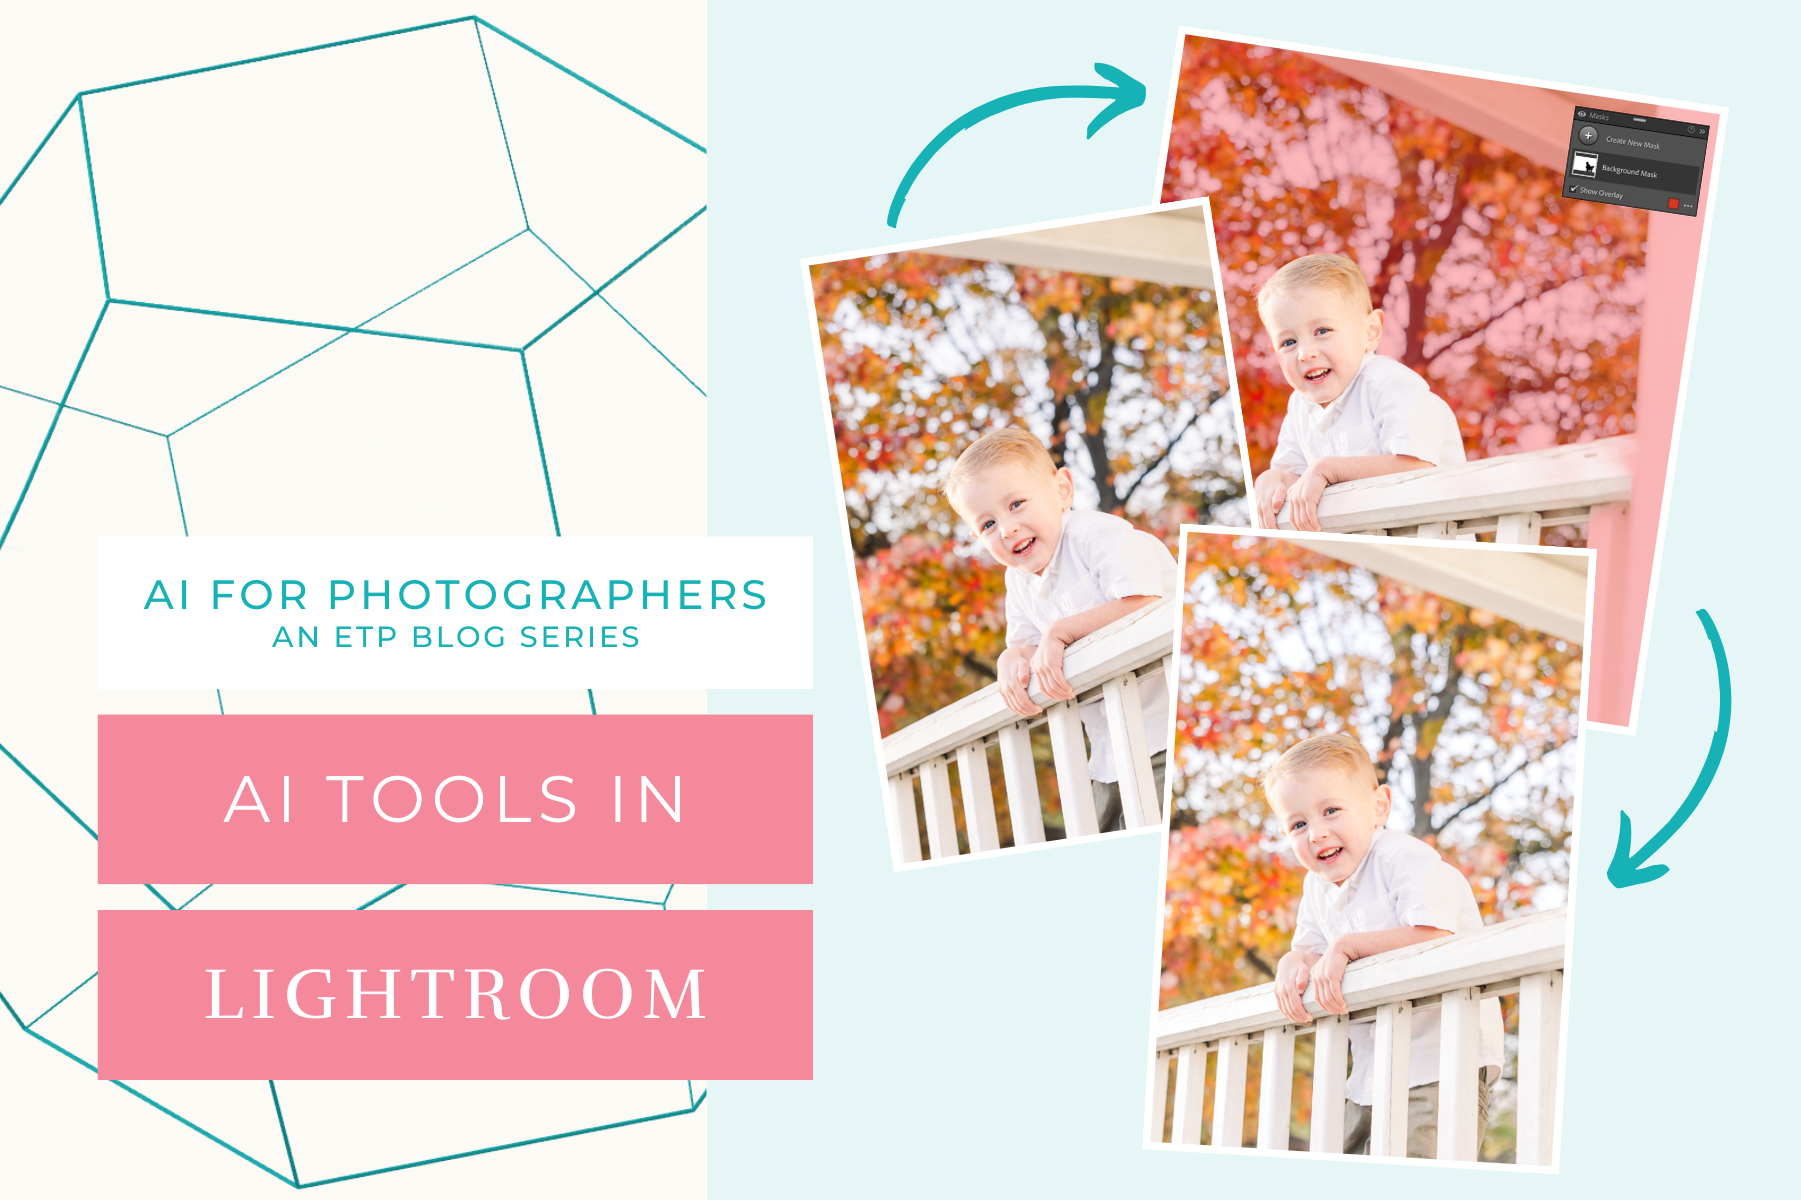
How I Use It: I use masking for a variety of situations. Most often I’m removing blue hues from dark-colored hair or brightening the background of an image that is darker than I’d like. The AI Masking option allows me to select these parts of the image very quickly. In the example below, you can see that I can select the background of the whole image with just one click. Then, whatever adjustments I choose to make are only applied to the selected part of the image. That still happens manually or with a preset, but the actual mask selection is done using AI.
Content Aware Remove: Easy Erasing
Ever captured a perfect shot, only to find an unwanted detail in the frame? Maybe a flyaway hair or a random person in the background? Previously, you could use the Clone or Heal tools in Lightroom to try to fix it. Now, you can still do that, but there’s another option available: Content Aware Remove. This tool utilizes advanced AI algorithms to analyze the surrounding area of the image and seamlessly fill in gaps left by removed objects. It’s like having a digital eraser that understands the context of your image. There’s a similar tool in Photoshop that works even better – more on this to come! – but this AI tool in Lightroom works really well for simple distractions.
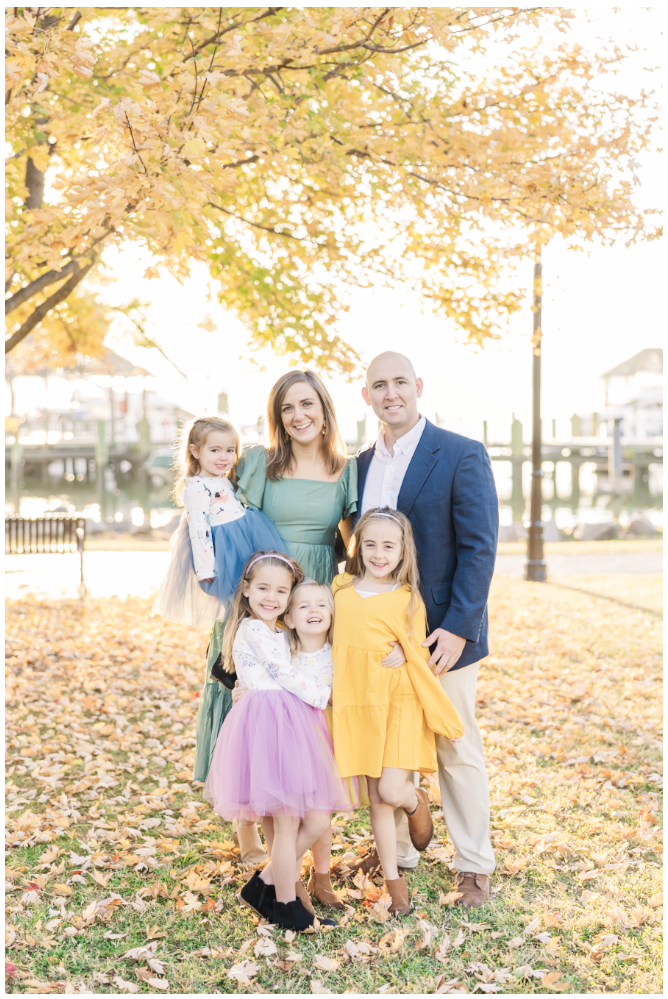
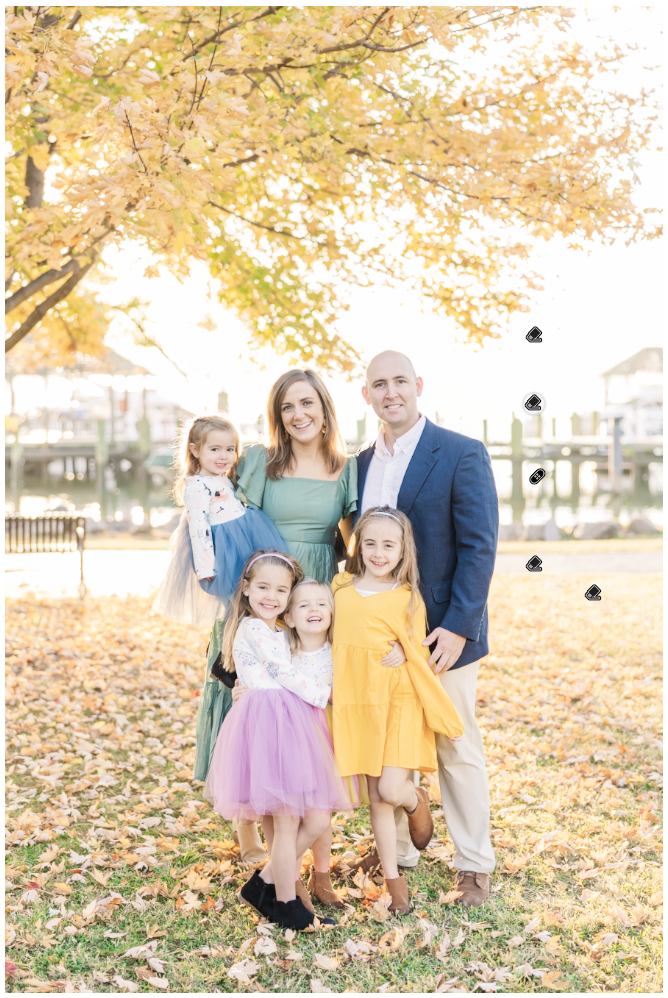
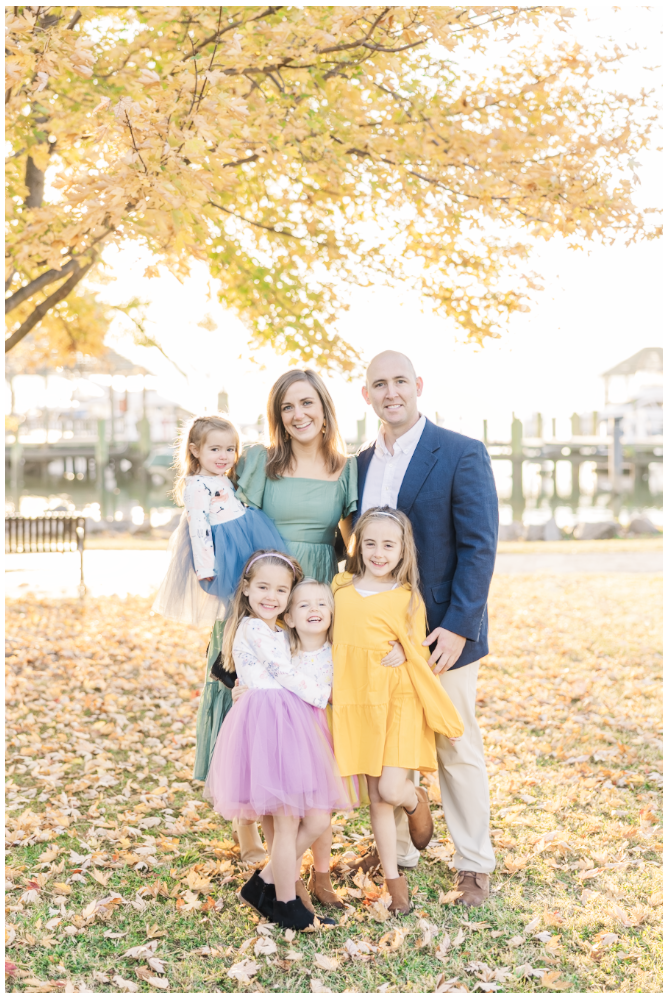
How I Use It: Try as a might to avoid it, sometimes distractions creep into the background of my images. Perhaps it’s a random branch or a sign that I didn’t notice. Or maybe it isn’t in the background, but there is a straggler hair or a blemish on someone’s face that I’d like to remove. Using the content aware remove tool in these simple cases allows me to remove these distractions easily. In the example below, you can see how I removed the light post that was behind this sweet family. It took a couple iterations, but I think it makes the overall image look just a little bit better.
Denoise: Minimize Noise, Maintain Quality
Dealing with noise can be incredibly challenging, especially if you’re working with a lower-end camera in low-light conditions. In the past, you could use the regular noise reduction slider in Lightroom to help remove the noise in an image, but this tool often leaves skin looking very plasticky. When that technique fails, Lightroom’s Denoise tool might be what you need. By leveraging AI, this feature intelligently analyzes the image, distinguishing between details and noise. The result? Crisper, clearer photos without compromising the natural textures.
How I Use It: To be honest, I rarely use this tool. My camera does well in low-light settings when I properly expose my photos and I can usually get away with just moving the noise reduction slider a bit. However, when I’m in a situation where using a flash is impractical or straight up not allowed, Denoise comes to the rescue. I perform all my standard edits first and then use the Denoise feature. It’s a bit slow and creates a virtual copy of the image instead of applying the edit directly, so it’s definitely not efficient to do this to every image. However, it’s a great fall back when you need it!



Incorporating AI Tools in Lightroom
With your regular Adobe Creative Cloud subscription, you have access to these AI tools in Lightroom. As you integrate them into your workflow, I encourage you to experiment and explore. Each tool offers a spectrum of possibilities. By understanding their nuances, you can tailor them to suit your unique style and elevate your images overall.
What’s Next?
AI tools in Lightroom are just the beginning! Up next in AI for Photographers, we’ll dive into some of the AI tools available in Photoshop. These are the tools I use when the ones in Lightroom don’t cut it. Or, if you’re ready for more, check out Authentically Artificial. This is a resource designed to simplify AI tools that you can implement today to enhance your photography business. If you have found this blog series informative, you don’t want to miss Authentically Artificial!
If you enjoyed this post, you may also love:
YES PLEASE!
Getting ready for your next PCS? This resource is for you! Download the guide for five actionable ways to set yourself up for success at your next assignment.
5 Ways to PCS-Prep your photography business
Getting ready for a PCS?
Getting ready for a PCS?
free download!
I HAVE A LITTLE SOMETHING FOR YOU!
I've been navigating military life with my family since 2008. In that time, I went from a full-time classroom teacher to an online course designer to a photographer. Actually, I still teach a little math on the side because I just love it too much!
Through it all, I've discovered how passionate I am about connecting with military families. Whether it's taking photos at a retirement ceremony, coaching a fellow milspouse photographer, or just grabbing coffee with a new squadron friend, I love this community. And as a teacher at heart, I'm excited to use this space to share what I've learned about business and life with you.
I'M ERIN.